How to Protect Your Home from Ice Dams
If you live in a cold climate, there are lots of winter weather hazards to look out for this season—black ice, frozen pipes, dead car batteries, and more. One hazard you may not have heard of before is ice dams—but they could be a problem in your home if you lack proper insulation.
In this blog, let’s explore what an ice dam is, how it can be dangerous to you and your home, and how you can work to prevent it.
What Is An Ice Dam, and How Does It Form?
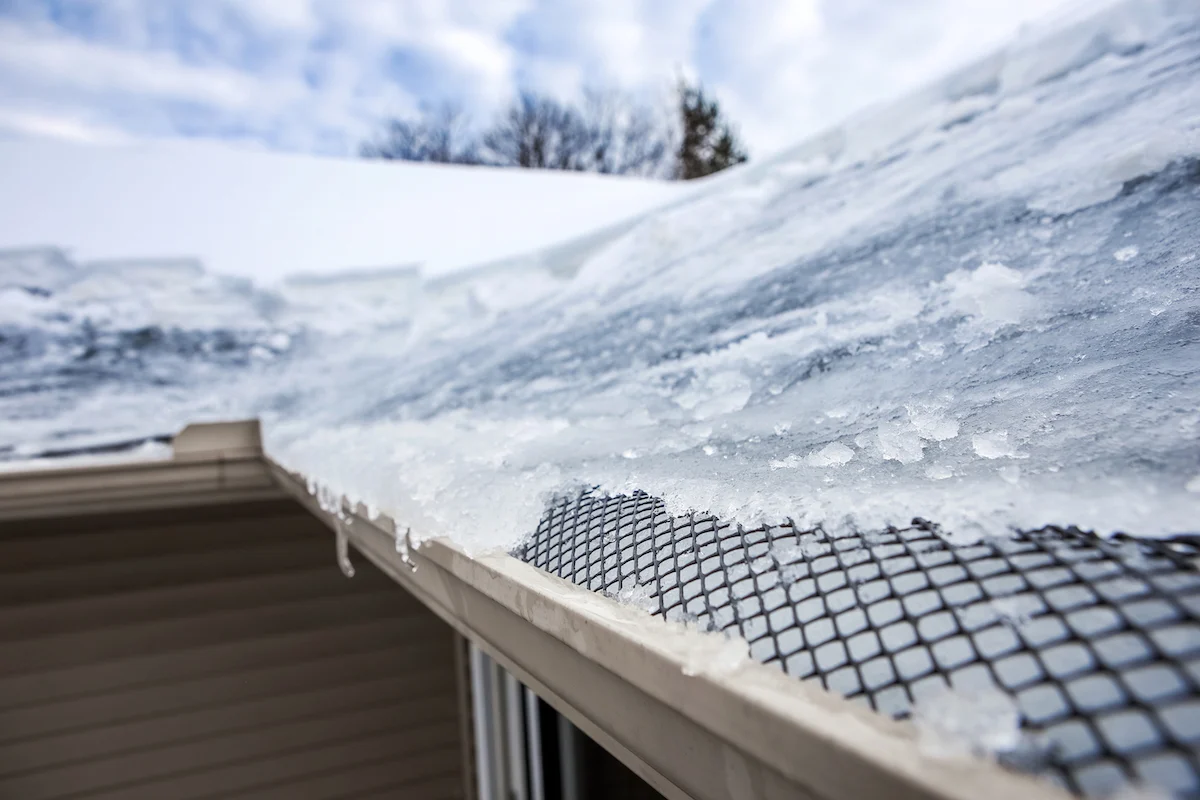
An ice dam is a buildup of ice on the eaves of a sloped roof. It occurs when the building is heated, which can melt some of the snow that’s packed against the roof—but not all of it. Snow then begins to slide down the roof as it melts and freezes again towards the edge when temperatures drop overnight, trapping more melted water above.
Ice dams form due to a difference in temperature between the top of the roof and the sides of the roof. This is caused by improper insulation. When you are pumping the heat in your living space, if it’s not well insulated, heat will escape into your attic and warm up the top of your roof. However, the eaves of the roof, which hang off the side of the building, will not be heated to the same temperature, thus causing the water to refreeze once it slides further down.
This often happens over several days, the snow is melting and freezing over and over again—and can go unnoticed for an extended time. But this can cause significant water damage to your ceilings, walls, and attic; lead to mold or mildew growth; break your gutters; and compromise your roof’s structural integrity, so it’s important to watch out.
How Can You Prevent Ice Dams?
Preventing ice dams requires close attention to your home; below are steps you can take to prevent water damage in the winter:
First, make sure you clear your gutters and downspouts of leaves, sticks, and other debris. Melting snow can then flow through your gutter system and off your roof. This should be done before winter arrives. And once temperatures dip below freezing, be sure to keep your gutters and downspouts clear of snow and icicles. While icicles aren’t necessarily a sign that you have ice dams, it’s a good idea to remove them anyway.
Before winter, evaluate your attic’s insulation and ventilation. You’ll want to determine your insulation’s R-value—to do so, first measure its thickness in inches.
- If it is a fiberglass batt (light-weight yellow, pink, or white), multiply the measurement by 3.2
- If it is light-weight vermiculite or perlite granules, multiply it by 2.7
- For cellulose fibers, multiply by 3.7
- For rock wool fibers, multiply by 2.8
- For fiberglass fibers, multiply by 2.5
Consult an expert if you’re not sure what type of insulation you have. The most common type is fiberglass, so multiplying by 3 will give you a good estimate. You can also check the product label on the insulation.
The resulting number will give you your R-value. This figure tells you how well your insulation can prevent the flow of heat into and out of your home, the higher the rating, the better. Experts recommend that your attic’s insulation should have an R-value of at least R-30, and R-38 for northern climates.
It’s also important that there is good airflow under the eaves or soffit area along the underside of your roof and through your roof vents. This airflow allows the air in your attic to remain cold enough that snow and ice won’t continue to melt and refreeze again and again on your roof. Of course, you don’t want this cold air getting into your living space, so be sure to seal any gaps between your attic and the rest of your home.
If you have any questions about the quality of your insulation or vents, it’s best to consult a roofing or insulation expert.
Other Ways to Protect Your Home From Ice and Snow
In addition, you could consider installing de-icing cables, also known as heat cables, along the edge of your roof. Be sure to carefully follow the manufacturer’s instructions when putting them up and take into account where water can flow after the ice melts. You don’t need to turn the cables on until after a big snowstorm or when you see ice forming. Some even have sensors that allow the cables to turn on automatically.
When it snows, use a roof rake to remove heavy snow on your roof. In addition to keeping your roof safe from ice dams, it also helps prevent your roof from collapsing under the weight of the snow. Be very careful when using a roof rake to prevent snow and ice from falling on top of you. You don’t have to remove every inch of snow from your roof when you do this—every little bit helps.
You can also accelerate ice melting by using calcium chloride. Unlike how you might spread it directly on your driveway, however, you should fill tall socks or pantyhose with salt and place them vertically across the ice, leaving the ends hanging off the roof by an inch or two. This allows melted water to run straight off your roof. Never use rock salt on your roof—it can cause damage to your shingles and any plants on the ground.
Does Insurance Cover Damage Caused by Ice Dams?
Many homeowners insurance policies can help cover the costs of any ice-related damage you may experience. This may be categorized under “perils relating to the weight of ice, snow, or sleet.”
However, any damage to the personal belongings in your attic caused by ice dams typically won’t be covered by a homeowners policy, as is often the case with flood damage. You should always check with your own independent insurance agent for an expert opinion. Speak with an agent from C&S today.